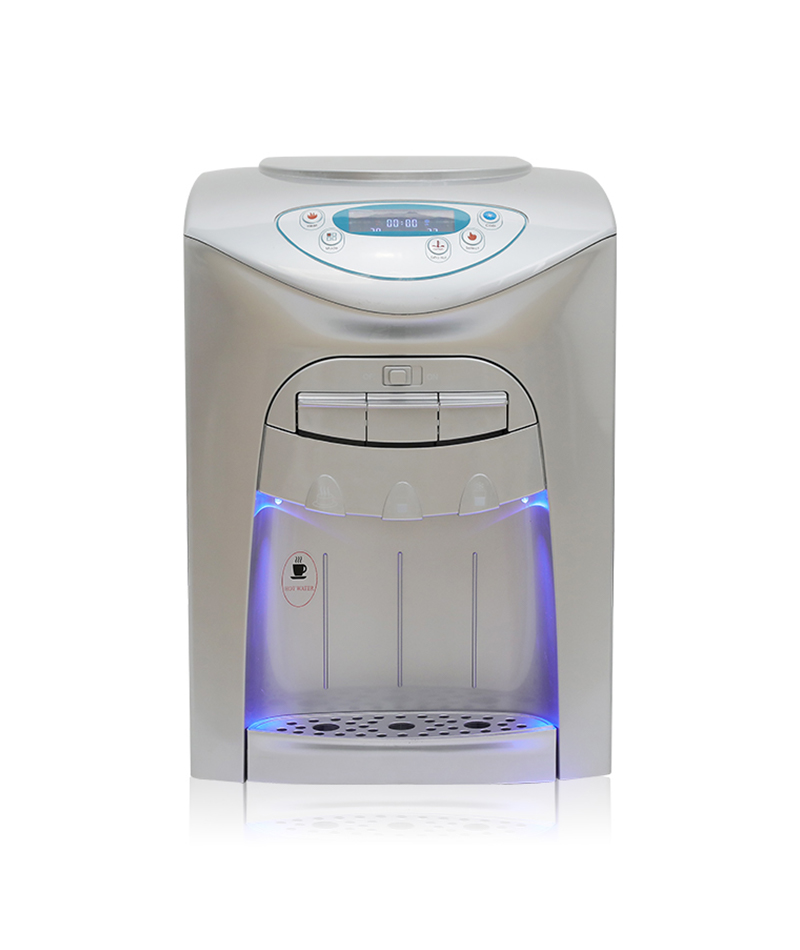
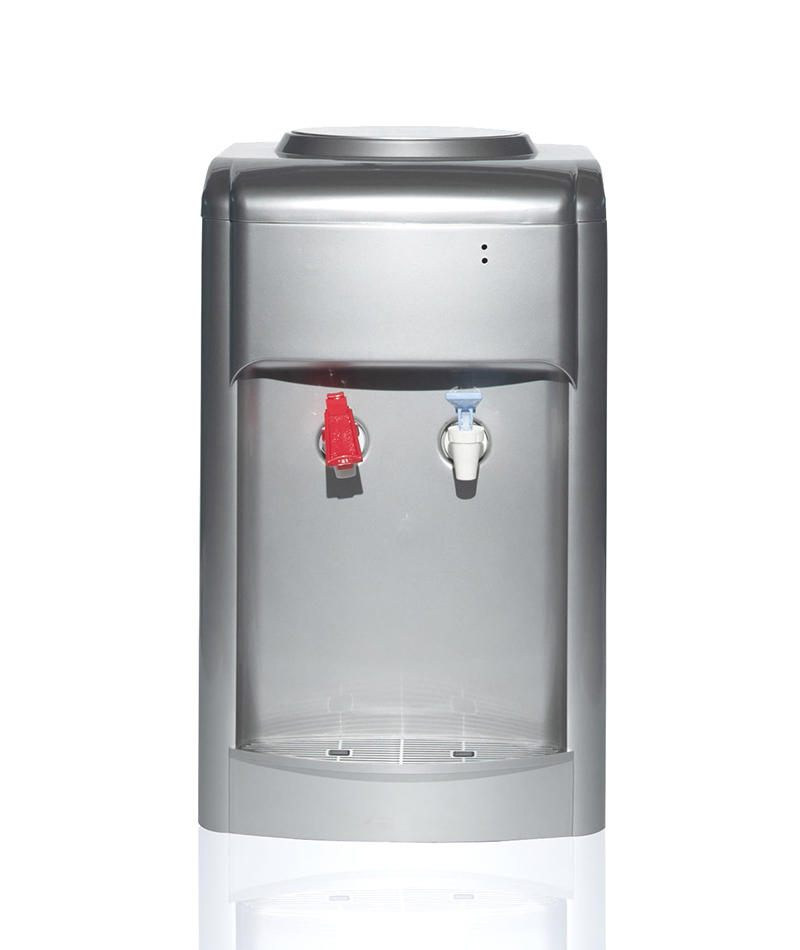
Using a water dispenser is a simple process that usually involves the following steps:
Position the water dispenser: The first step is to position the water dispenser in a convenient and accessible location, such as on a countertop or table. Make sure there is enough space around the dispenser to allow for easy access to the water bottle and dispenser.
Install the water bottle: Most water dispensers are designed to accommodate standard 5-gallon water bottles. Carefully lift the bottle and place it on the dispenser, making sure it is properly seated and securely fastened.


Connect the dispenser to a power source: Most water dispensers are electrically powered and require a power source to operate. Plug the dispenser into a nearby electrical outlet, making sure the cord is not in a location where it can be tripped over or damaged.
Adjust the temperature: Most water dispensers have both hot and cold water options. If you prefer room temperature water, make sure the dispenser is set to this option. Some dispensers also have a child safety lock that needs to be unlocked before the hot water is dispensed.
Dispense the water: Once the water bottle is installed, the power is connected and the temperature is set, you can dispense water by pushing or pulling on the dispenser lever or button. Make sure to hold your cup or container under the dispenser to catch the water.
Replace the water bottle: When the water bottle is empty, carefully remove it from the dispenser and replace it with a full one. Some dispensers have a water level indicator that will alert you when it's time to replace the bottle.
Clean the dispenser: Regularly clean the water dispenser to keep it hygienic and free of bacteria. Consult the manufacturer's instructions for guidance on how to clean your specific dispenser.


 English
 Deutsch
 Español


